Popcorn Ceiling Removal: What to Expect
Timeline, dust control, asbestos testing, and cost for removing textured ceilings in older Atlanta homes.
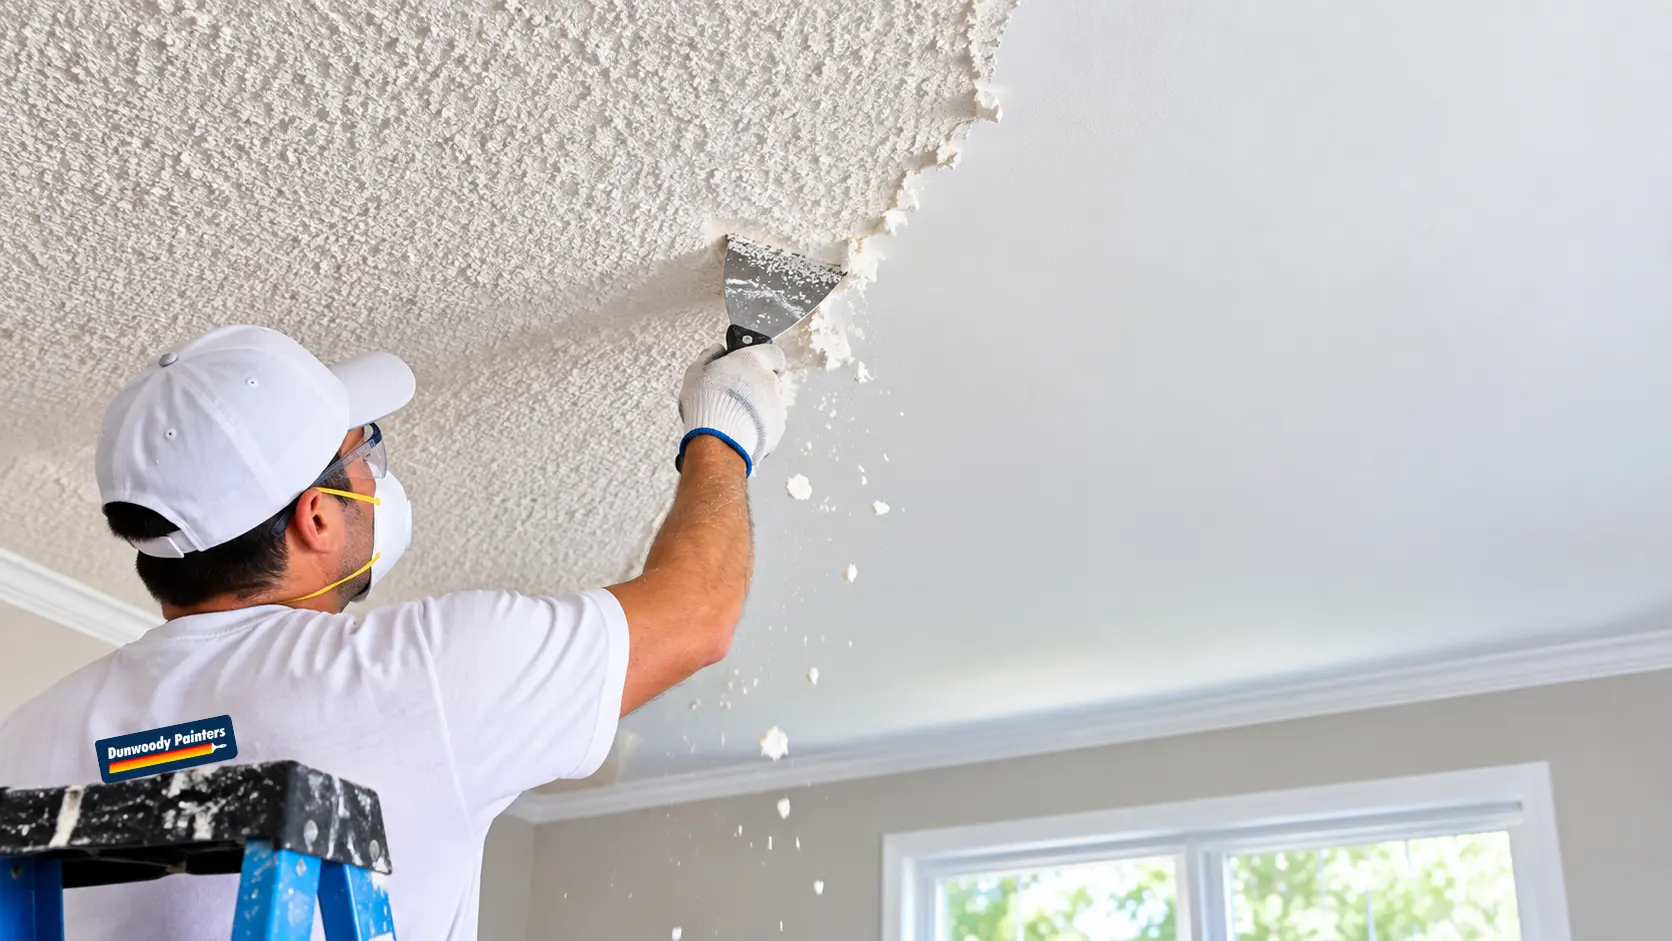
Popcorn ceiling removal can give a room a smoother, more modern look, but it's not as simple as just scraping off the texture.
Homeowners should first check if the ceiling can be safely disturbed, understand what the project involves, and prepare for repairs, cleanup, and the new finish.
What to expect before, during, and after popcorn ceiling removal in Sandy Springs and Metro Atlanta.
It's depending on the age and condition of the ceiling, and the type of material used and whether you want a smooth or lightly textured finish.
Before Removal: Check for Asbestos
If the ceiling has an older texture or its age and materials are unknown, have it checked for asbestos before attempting any work that could release dust, such as scraping, sanding, or drilling.
You cannot determine the presence of asbestos just by looking at the texture.
Georgia EPD recommends hiring an accredited asbestos inspector before starting any renovation or abatement work.
They also provide information on licensing requirements for asbestos contractors and project notifications.Be sure to check the latest requirements with Georgia EPD and ask for proof of current credentials from anyone performing an inspection or abatement.
If asbestos is suspected, stop the removal plan and contact a qualified asbestos professional.
Do not treat a regular painting estimate as asbestos testing or abatement.
What Happens During an Assessment?
Before the work begins, the contractor will examine the ceiling and the room.
The assessment will consider several factors, including:
- The size and height of the ceiling.
- Whether the ceiling is flat, vaulted, or hard to reach.
- If the texture is painted.
- Cracks, stains, prior repairs, or loose sections.
- Light fixtures, vents, and ceiling fans.
- Furniture, floor type, and how accessible the room is.
- Whether an asbestos evaluation is necessary.
- Your desired finish after removal.
Ensure that the written estimate clearly defines what “removal” includes.
Some quotes cover only texture removal, while others include drywall repair, skim coating, primer, paint, and cleanup.
The Scraping and Cleanup Process
Once the material has been properly evaluated and the work is approved to proceed, the contractor will plan how to protect the room and manage debris.
These methods may vary depending on the ceiling's condition and the project's scope.The following describes the general stages for a ceiling that has been confirmed to not contain asbestos—not for DIY projects on a ceiling with uncertain material.
1. Protect the Room
Ceiling work can generate dust and debris.
The crew should use suitable coverings and masking materials to protect the floors, walls, furniture, fixtures, and nearby areas.Furniture may need to be moved or removed from the work area.
Discuss how the work area will be isolated from the rest of the home, what you should prepare to move before the work starts, and when the room will be available again.
Keep children and pets away from the work area.
2. Remove the Texture Carefully
For a ceiling cleared for regular removal, the contractor will select a method based on the texture, paint condition, and drywall state.
The goal is to remove the raised texture without causing unnecessary damage to the drywall beneath.
Painted or strongly bonded texture can be more challenging to remove.
Scraping too aggressively may damage the ceiling or tear the drywall paper, leading to extra repair work.If the material may contain asbestos, stop the process and use a qualified asbestos professional instead of proceeding with standard scraping.
3. Collect Debris and Clean the Work Area
The contractor should collect the removed material and other debris using methods appropriate to the material and local regulations.
After cleaning, the protected area is carefully cleaned, and coverings are removed to prevent debris from spreading to other parts of the home.
Make sure to ask whether the quote covers cleaning up the work area and safely disposing of all leftover materials and debris.
If asbestos is involved, disposal and cleanup must follow legal requirements and should be handled by certified professionals.Georgia EPD provides details on licensing, notification, and disposal guidelines for regulated asbestos work.
4. Inspect and Repair the Ceiling
Once the texture is removed, the surface beneath becomes more visible.
Once the texture is removed, the crew might uncover issues that were not visible before, such as cracks, uneven seams, old repairs, raised nail heads, small dents, or stains.
Depending on the agreed-upon scope, the ceiling might require patching, sanding, joint repairs, skim coating, or replacing damaged drywall.
A smooth finish generally needs more detailed preparation because uneven areas can be noticeable under bright daylight or when ceiling fixtures are in use.
Applying the New Finish
Once repairs are completed and the surface is dry, the ceiling can be given the finish you have chosen.
Options may include a smooth surface or a lighter texture.It's important to discuss the desired outcome before starting the work, as a smooth ceiling often requires more finishing than a lightly textured one.
The prepared ceiling may be primed before painting.
The correct primer and ceiling paint depend on the condition of the repaired surface, any stains present, and the room’s specific conditions.Follow the contractor’s instructions regarding drying time, ventilation, and when to bring back furniture or fixtures.
How Long Does Popcorn Ceiling Removal Take?
The time required depends on the ceiling's size, height, condition, ease of access, repair needs, drying time, and whether painting is included.
A simple room might take less time than a larger or vaulted ceiling that needs extensive skim coating.
Ask for a timeline that includes protection, removal, repairs, drying, priming, painting, and cleanup—not just the texture-removal stage.
What Affects the Cost?
Pricing can vary depending on the project, so an on-site estimate is more helpful than a single per-square-foot figure.
Common cost factors include:
- Total ceiling area and number of rooms.
- Ceiling height and access.
- Whether the ceiling is painted or has a difficult texture to remove.
- Drywall damage, cracks, or stains.
- Amount of skim coating and sanding needed.
- Preference for a smooth or textured finish.
- Cost of primer and paint.
- Protection or removal of fixtures.
- Room protection, cleanup, and disposal.
- Asbestos inspection or abatement.
Compare estimates based on the scope of work.
A lower quote might only include removal, while another may cover repairs, skim coating, primer, paint, and cleanup.
What to Ask Your Contractor
Before scheduling, ask:
- 1Has the material been evaluated for asbestos?
- 2Who arranges any required inspection?
- 3Does the estimate include removal only or the complete refinishing process?
- 4Are drywall repairs and skim coating included?
- 5How will floors, walls, furniture, and fixtures be protected?
- 6How will debris be collected and disposed of?
- 7What happens if hidden damage is discovered?
- 8What is the expected schedule?
- 9When can the room be used again?
- 10Who handles any asbestos-related work, if needed?
How to Prepare Your Home
Once the project scope and safety requirements are settled, you can help by:
- Removing fragile belongings and small items from the room.
- Moving furniture if your contractor asks you to.
- Pointing out leaks, stains, or earlier repairs.
- Discussing light fixtures and ceiling fans.
- Arranging a safe space for children and pets.
- Confirming room access and the work schedule.
- Keeping the room clear until the crew says it is ready.
- Do not scrape, sand, or collect samples from a ceiling whose material has not been evaluated.
After the Popcorn Ceiling Removal Work Is Complete:
Inspect the finished ceiling in good lighting. Look for consistent coverage, smooth transitions, missed areas, or agreed touch-ups.
Ask when fixtures can be reinstalled and when furniture can be moved back. Follow the paint manufacturer’s drying and curing instructions.
If the ceiling had stains or moisture damage, make sure the underlying cause has been addressed. Paint can improve the appearance, but it cannot prevent a stain from returning if a leak or moisture issue remains.
Popcorn Ceiling Removal in Georgia
Dunwoody Painters lists popcorn ceiling removal and drywall repair among its Metro Atlanta & Georgia services. The team can discuss eligible ceiling preparation and painting work, while any asbestos inspection or abatement should be handled by properly qualified professionals.
For related work, visit our interior painting services page or read our interior painting preparation checklist
Ready to update your ceiling? Contact Dunwoody Painters to discuss your popcorn ceiling project and request a free estimate.
Common questions
Frequently Asked Questions
Related painting articles
More helpful painting guides
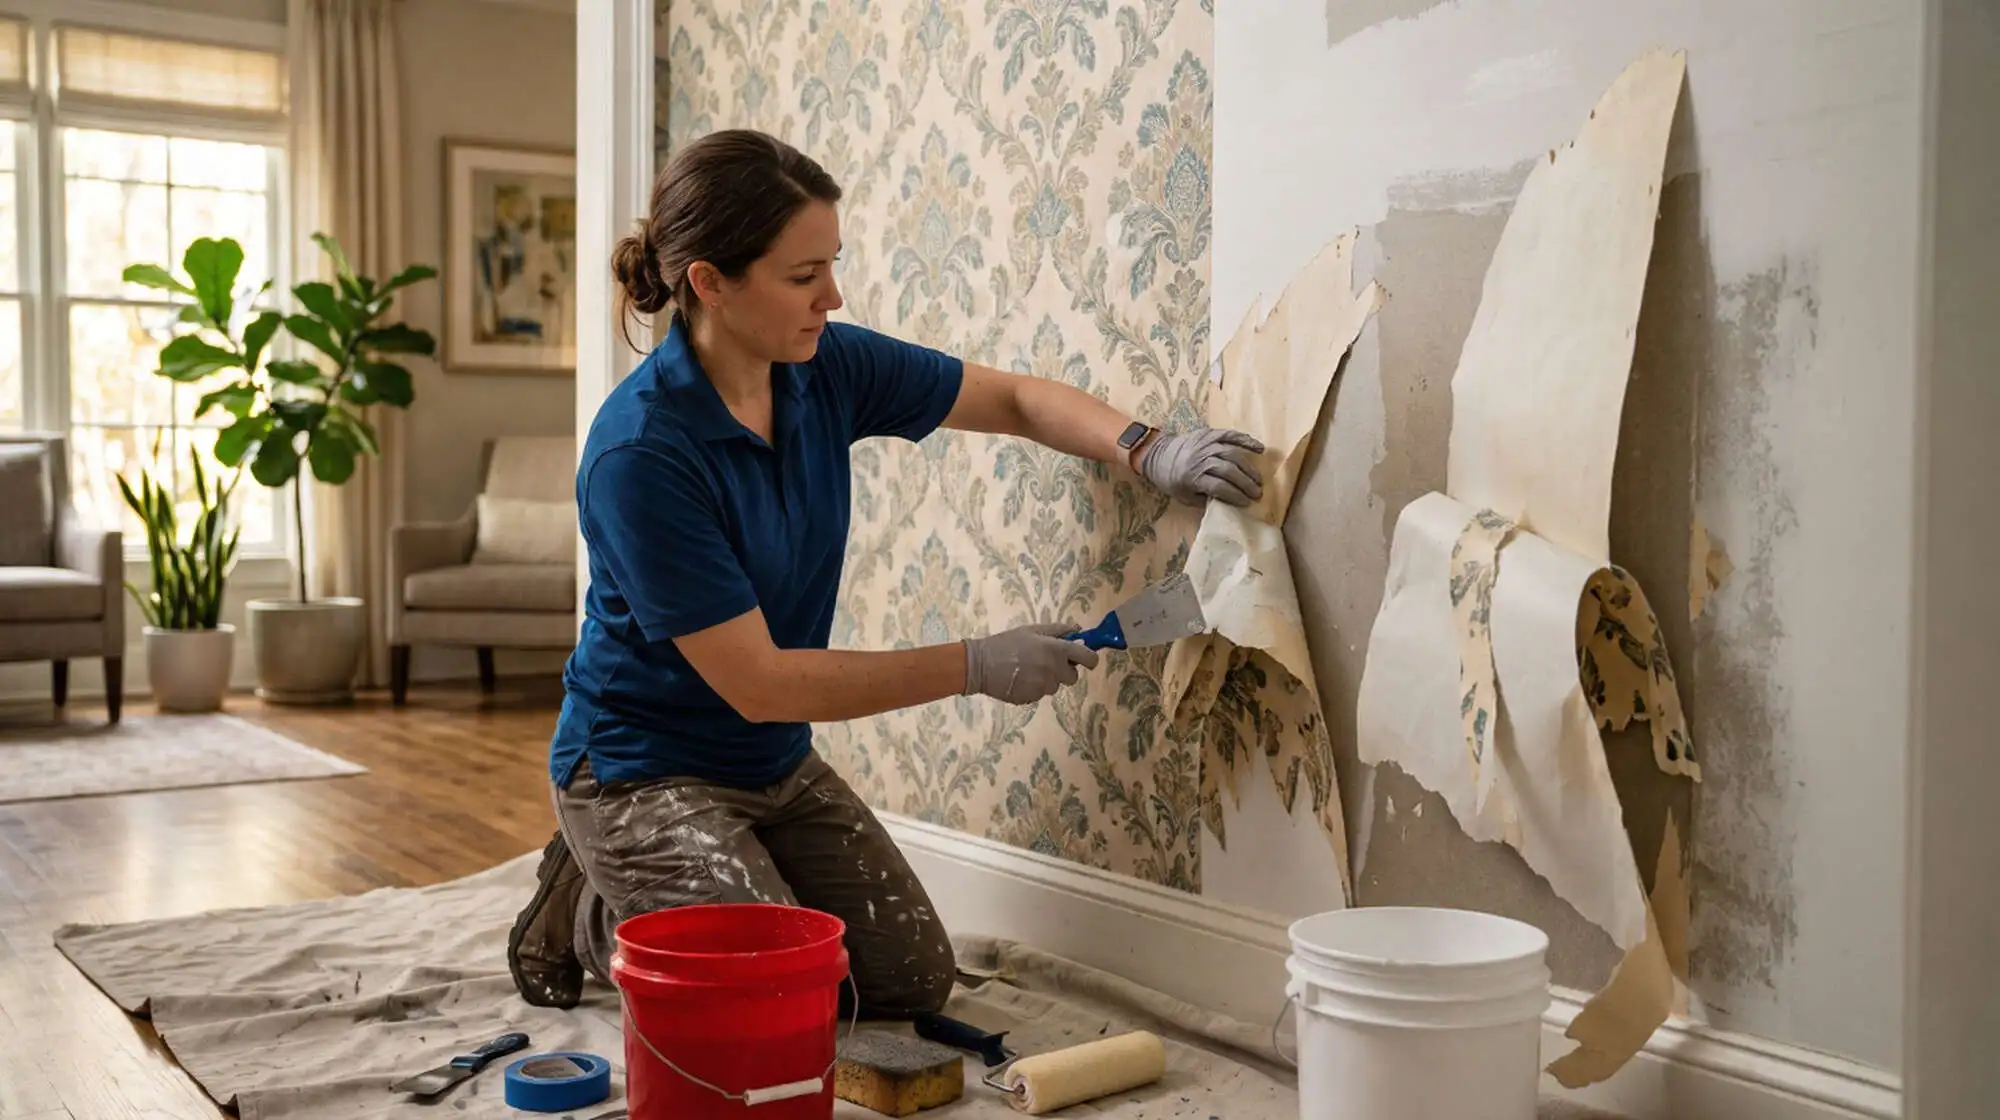
Wallpaper Removal Guide: What Atlanta Homeowners Should Know Before Painting
Learn how Atlanta homeowners can safely remove wallpaper before painting, prepare walls for a smooth finish, avoid common mistakes, and know when professional wallpaper removal is the better option.
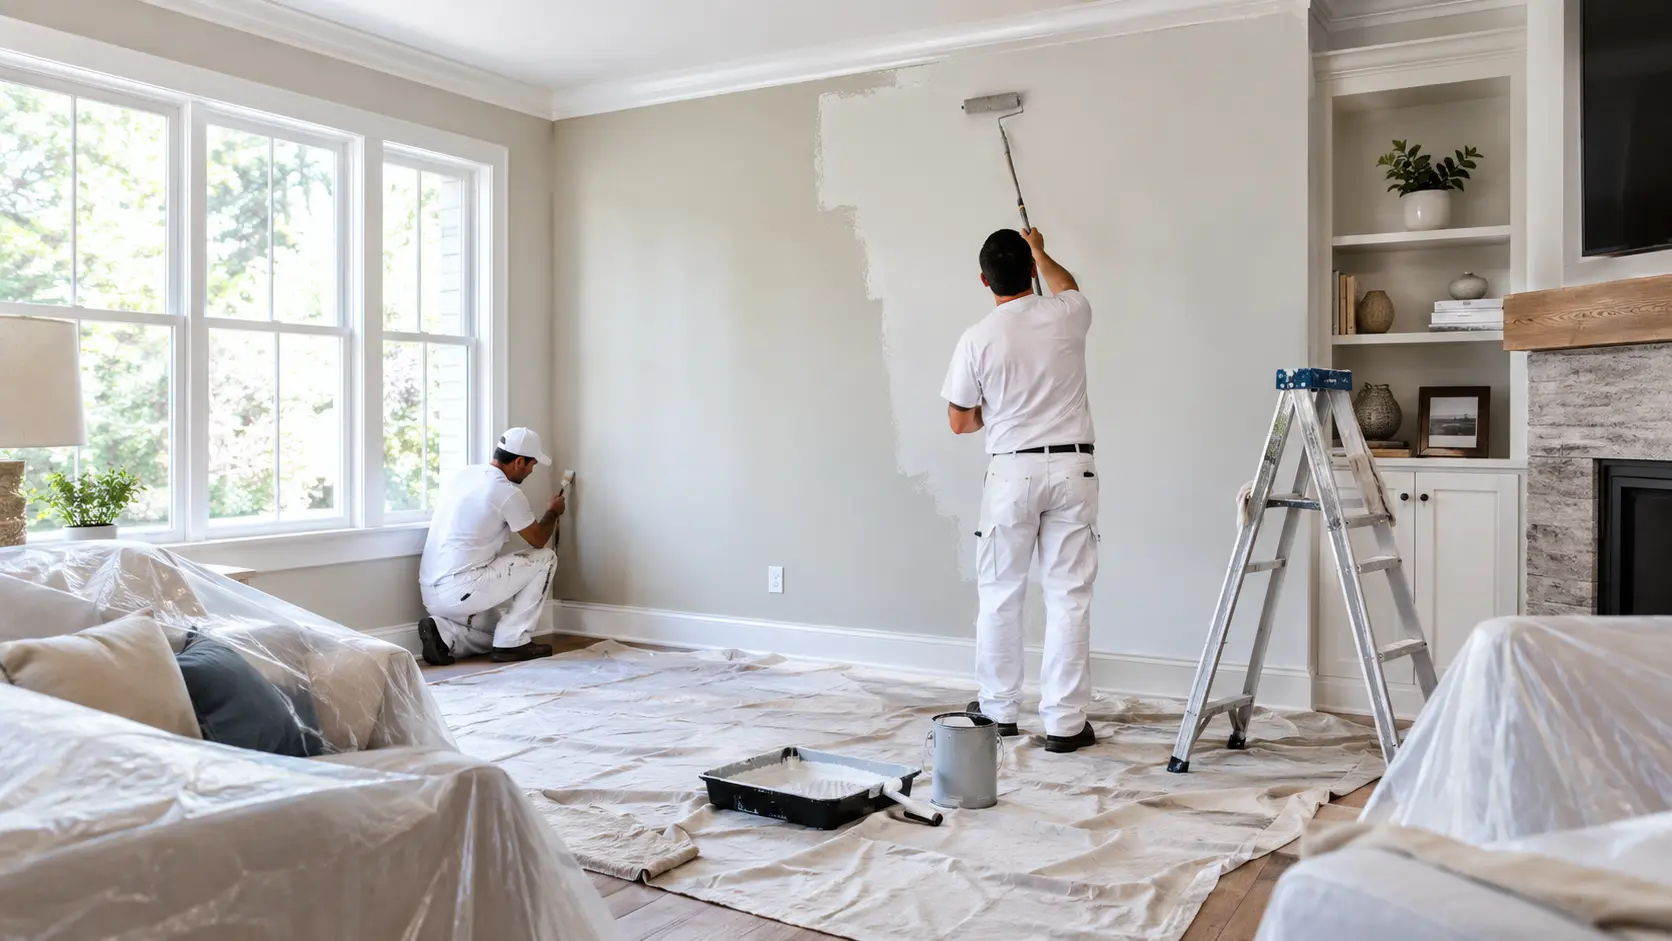
Interior Painting Preparation Checklist: Get Your Home Ready
A simple homeowner checklist for the week before your painters arrive - what to move, what to cover, and what we handle.
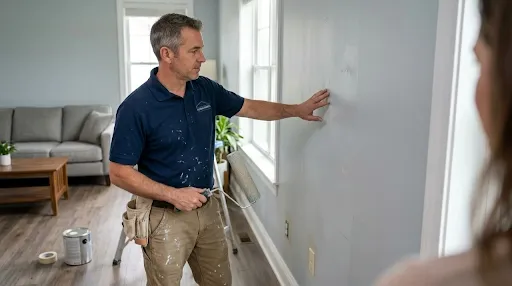
How Long Does Interior Paint Last?
Learn how long interior paint typically lasts, what affects paint durability in different rooms, the signs it is time to repaint, and simple ways to keep painted walls looking their best.